Please don't bother me before my cup of coffee. With Spring here the days are starting out even earlier. Hello, Spring, hello caffeine. As the sun pours into my bedroom, I face the day by shuffling downstairs to the magnetic pull of my Keurig.
So it is only natural that this month I wanted to dress up my favorite mug. Yes, this simple glass mug not only holds an ample reservoir of caffeine to help me face the day and three demanding children, but the clean, simplicity makes me smile. I have been wanting to try out the Silhouette stencil vinyl and learn how to use etching cream. This was the perfect chance.
Okay, this is what I used for my etching project:
- Silhouette, or die cut machine
- stencil vinyl - I used the Silhouette stencil material that comes on a roll
- transfer tape
- etching cream
- hook tool - for weeding the stencil
- scraper tool - to make sure the stencil vinyl doesn't have any bumps or bubbles
- rubber gloves
- an object to etch
I poked around the Silhouette site looking for an image that I wanted on my mug. I finally settled on a "Hello Sunshine" phrase. I just deleted the points in the "o" and replaced them with a cute flower.
After selecting the Silhouette stencil vinyl cut setting on my machine, I cut the stencil material and then used my hook tool to weed out the sections I wanted to etch.
The transfer tape was backed on brown paper. I lifted up an edge to apply the adhesive surface over my stencil. I cut the transfer tape to just cover my stencil.
With the scraper tool I made sure the transfer tape picked up every peice of my stencil. Then I peeled it off the stencil backing and placed it onto my mug.
Starting at the middle, I used my fingers to smooth the stencil outward. I tried to flatten all the edges around the letters onto the mug. Then I went over it again with the scraper. Any peices sticking up, or bubbles will allow the etching cream to get underneath the stencil. I wanted nice clean edges to my letters so I spent a little extra time making sure it was smoothed out.
See the bubbles in the right-hand corner? I worked those out with my fingers since the mug is rounded.
Then I removed the transfer tape and got my etching cream all ready to use.
Etching cream can settle as it sits. Give it a good shake before opening, and then I suggest giving it a good stir before using. I keep old popsicle sticks on hand just for projects like this one. Grab those protective gloves (because who wants to etch their skin, right?) and give it a good stir.
I applied my etching cream to the glass with Q-tips. I tried to keep the cream even and thick enough. With the scraper tool I wiped away the excess.
After 30 seconds, I wiped the cream clean and then washed the surface to remove any remaining cream.
I had a little moment of terror while washing my mug because it looked like my etching had washed off. *Gasp* Okay, it isn't as dark as frosted glass, etching is much more subtle. Once dried my "Hello Sunshine" showed right back up.
Overall I had a lot of fun. It is much faster than I would have imagined to complete an etching project. Now I just have to decide what I am going to etch next.
Okay, now I am finally ready to start my day. What do you think?
Want to Check Out More Silhouette Projects?
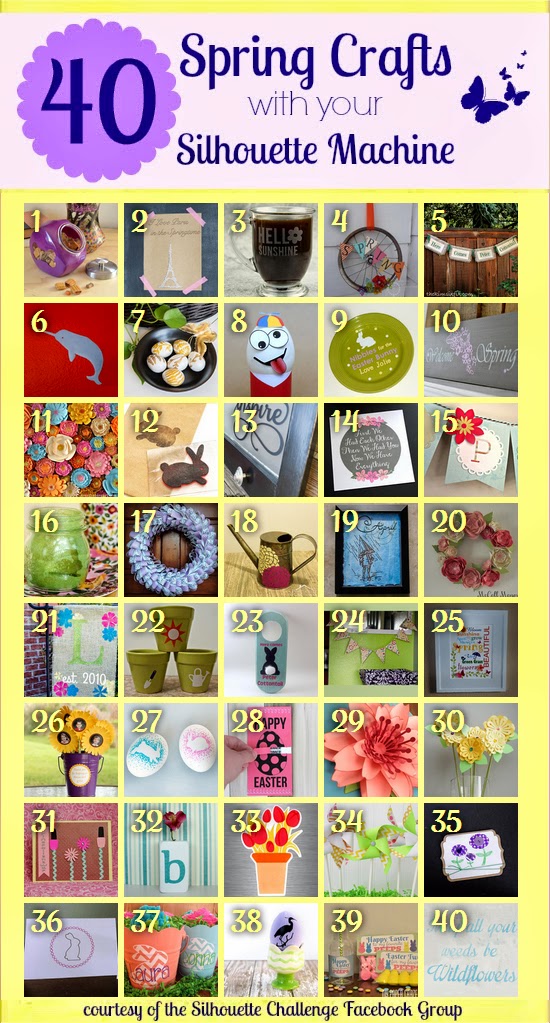
My Silhouette Challenge buddies and I are all sharing projects on our blogs today, so peruse the projects below for a wealth of Silhouette inspiration!
1. Dream a Little Bigger // 2. So Much Better With Age // 3. Adventures in All Things Food // 4. Creative Carnival // 5. The Kim Six Fix // 6. feto soap // 7. One Dog Woof // 8. The Experimental Home // 9. From Wine to Whine // 10. Architecture of a Mom // 11. Grey Luster Girl // 12. Minted Strawberry // 13. Designed Decor // 14. Tried & True // 15. Silhouette School // 16. Bringing Creativity 2 Life // 17. Weekend Craft // 18. Practically Functional // 19. Please Excuse My Craftermath... // 20. McCall Manor // 21. unOriginal Mom // 22. Creative Ramblings // 23. A Tossed Salad Life // 24. A Glimpse Into Barb's Life // 25. Kate's Paper Creations // 26. Simply Kelly Designs // 27. Cutesy Crafts // 28. Persia Lou // 29. Whats Next Ma // 30. Two Purple Couches // 31. The Frill of Life // 32. Nearly Handmade // 33. Get Silvered // 34. Ginger Snap Crafts // 35. Life After Laundry // 36. The Sensory Emporium // 37. Monograms & Cake // 38. The Thinking Closet // 39. My Paper Craze // 40. Chicken Scratch NY


No comments:
Post a Comment
I always love reading your comments and questions. Let me know what you thought about my recipe or post. Comments are currently being moderated due to spam-tastic recent postings. I'll have your comment up shortly. Thanks!