Are you looking forward to summer?
Are you ready to haul all of your necessities around? There are the glasses, a reusable water bottle, sunscreen and either a tablet or good book... but, what will you be using to lug it all around in? Whether you are popping out for some groceries, heading to the berry patch for U-Pick, or just taking your kids to the park, a fun and personalized tote is perfect for summer.
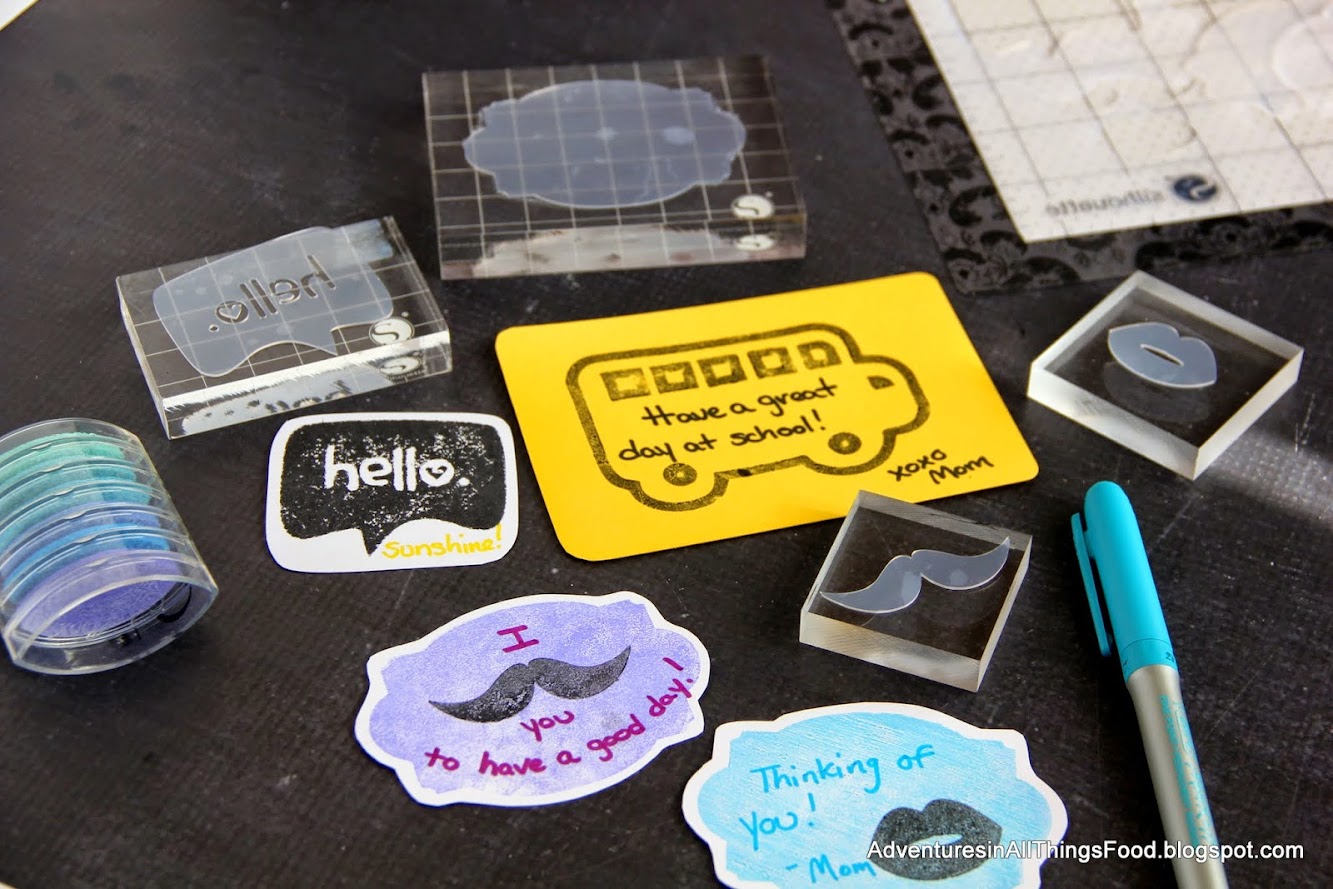
This month for the Silhouette Challenge, I wanted to use my newest addition from the Silhouette line, the Silhouette Mint. The Mint is a stamp lover's dream! With thermal printing, I can design a stamp in the Mint Studio on my computer, print it onto a stamp blank, then use their line of inks to stamp my design.

For my daughter's Valentine's Day cards we created a custom stamp with her image. I just love how it turned out and it made her cards unique and memorable.

But only recently did I hear you could use the stamps along with Silhouette's ink to stamp on fabric.
That was a really exciting moment!
So when I was planning out my "summer" themed Silhouette Challenge project, I knew it had to involve fabric and stamping.
Summer here on the farm starts with strawberry season. Right now we are up to our ears in planting and transplanting vegetables, even cutting the year's first hay, but the farm really comes alive with the first strawberries. This year we have been lucky enough to already have found a few early berries... those hidden gems are always the best!
To commemorate our favorite red berries, I wanted to create a simple stamped tote. It is the perfect bag to haul my water bottle, book of the week, as well as all my other necessities into the strawberry patch while I pick. I will probably also take it along to the park, or the beach and personalizing it makes it all mine.
Let me show you how easy it was to create.
First start by choosing or importing your design. I purchased this simple strawberry from the Silhouette Design Store. It doesn't matter whether it is in color, or already black and white. It is easy enough to preview and adjust as necessary like I did with the photo of my daughter above. Simple graphics are much easier to use for creating a stamp though.
Choose the size stamp you want to create and the software will change your working area. That white square is a 30 x 30 mm stamp size.

I played around with a few different strawberries till I found one that was easy to modify. Please tell me I am not the only one who buys several similar images and plays around forever till I get it ...just, right. I decided to separate the stem and strawberry for other projects.
I just used the eraser tool to delete the portion I didn't want. You can add different color ink to the different sections if you want. I wanted the parts separate, and I was worried about the ink bleeding around the edges of the stem.

At any time you can click on stamp filters to see what your image will look like and play around with different options. I used the comic outline for this project.

After your image is ready, when you go to create your stamp, the software automatically mirror images the design for you. I really enjoy this part being automatic. I can't tell you how many times I have messed up a project because I forgot to reverse the lettering!
So in the case of my "Berry Nice", I used the curved text option to create it...

Then when I clicked to send it to the Mint, it gave me the mirror image of the text so my stamp would stamp the words correctly.
This stamp is a 30 x 60 mm size which was perfect for my saying.

If you already have used a Silhouette Mint, you know how easy it is to print. Once you send it to the machine, you feed the stamp blank through the back and it stamps it and rolls through.
Break open the sheet and peel off the printed stamp. Then adhere it to a stamp mount which slides onto a changeable stamp grip. Then you can stamp a label to mark your stamp lid for storage.

Once the stamp is ready, I covered my image in Silhouette Mint Ink. Let it soak in completely for about 10 minutes, stamped off the excess ink on scratch paper and then went about stamping my project area.
I picked up a simple canvas tote. I always have a stash of these in the car for grocery shopping or just collecting our "stuff". Yeah, a family of 5 always has more stuff than I have room for in my hands.

Through trial and error I stamped and stamped and created my tote. Not a masterpeice, but it is all mine.


So, let me know down in the comments below what you thought of my "Berry Nice" tote as well as what you would put on your own stamped summer tote. I would love to hear how you would personalize yours!
Want to Check Out More Silhouette Projects?
I've got two great Silhouette treats for you today! First off, my Silhouette Challenge buddies and I are all sharing projects on our blogs today, so peruse the projects below for a wealth of Silhouette inspiration!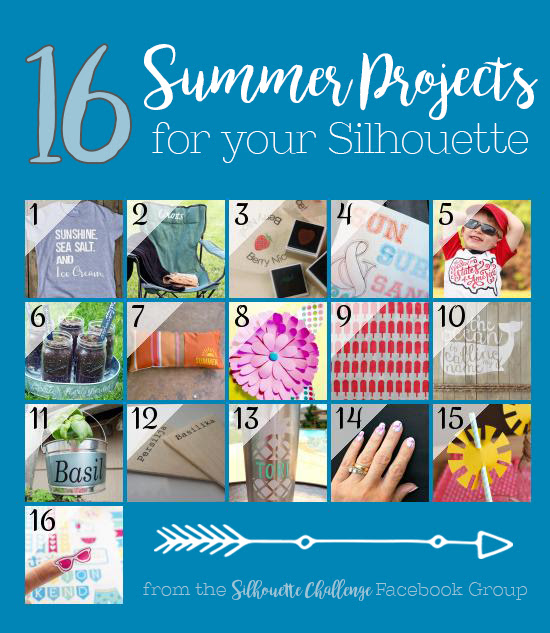 1. Sisters, What // 2. Small Stuff Counts // 3. Adventures in All Things Food // 4. Creative Ramblings // 5. Where The Smiles Have Been // 6. Curly Crafty Mom // 7. Architecture of a Mom // 8. Create & Babble // 9. HaberdasheryFun // 10. Coral + Mint Design Co. // 11. Designed Decor // 12. Tehtaiskö nyt? // 13. Tori Grant Designs // 14. Morena's Corner // 15. It Happens in a Blink // 16. unOriginal Mom
 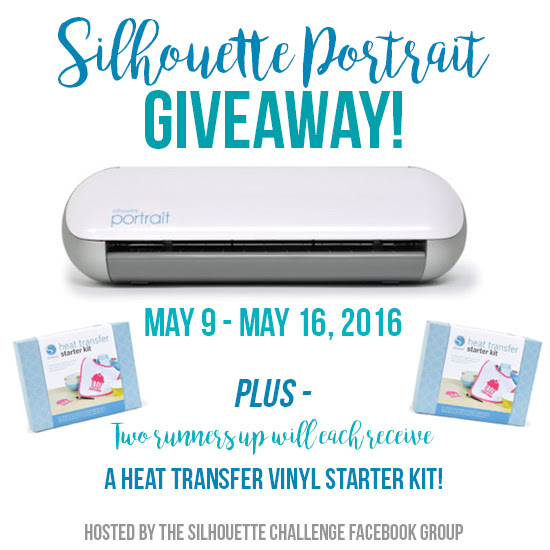 And I've saved the best for last! Silhouette America has graciously sponsored our giveaway of a Silhouette Portrait! One lucky grand prize winner will receive their very own Silhouette Portrait, and two runners up will each receive a Heat Transfer Vinyl Starter Kit. (If you already own a Silhouette, just think how great a gift this would make for a friend!) To enter: just complete the entries in the Rafflecopter widget below. You have 18 potential entries, which means a lot of winning power. So, hurry up and enter! (This giveaway runs from 8:00 am on May 9 until 11:59pm on May 16, 2016, and is open to readers with a US mailing address.) a Rafflecopter giveaway