With my daughter's new vanity came a need to help her organize her hair supplies. Yes, I love adding to her collection of clips, bows and headbands, but I needed a better way to keep it organized and ready to use.
January is one of my favorite times to clean, de-clutter and organize things. It helps me to break up the rainy cold days indoors. And this also fit in perfectly with this month's Silhouette Challenge theme: Organization. This year there is a new twist for the challenges, there is an extra challenge to use a certain technique or material and this month it is vinyl.
So I wanted to personalize a plaque for my daughter using a distressing technique and then adding on the ribbons and hanger to create a place for hair clips and ribbons.
I picked up an unfinished wooden plaque, paint and a distress ink stamp pad at the craft store. I originally wanted to try distressing the paint, so that color would show through, by using vaseline. I have seen a few blogs recently using the technique.
First I started with a base coat of primer and paint in one. Then I painted the wood pink and used the petroleum jelly so my top coat of white would peel off and reveal the pink.
Sadly, it didn't quite work like I had hoped. I still want to try this technique again. But, this time I went ahead and painted over the spots and finished off my board with sandpaper and a little elbow grease.
The final step, and the one I enjoyed the most was using the distressing ink. I found a nice brown that would help to really detail the edges and curves of the painted board.
Then for the vinyl step with my Silhouette I created my daughter's name in script font. When using a weld-able script font, just go under the modify menu to "weld" the letters together. This takes out the lines between them and will make it one continuous cut. Isn't that cool?
How did I go this far without learning that?
With transfer tape, I centered the vinyl and placed it on my board.
Then I outfitted the back of board with a simple hanger and tacked down the ribbon with upholstery tacks and a little wood glue underneath.
I was really pleased with the finished project. My daughter loved that it was pink, but also white to match her new vanity, and had her name on it.
Well, now I have even more to keep creating more hair bows for my little girl. What do you think? Do you know someone who could use a Personalized Hair Bow Organizer of their own?
Want to Check Out More Silhouette Projects?
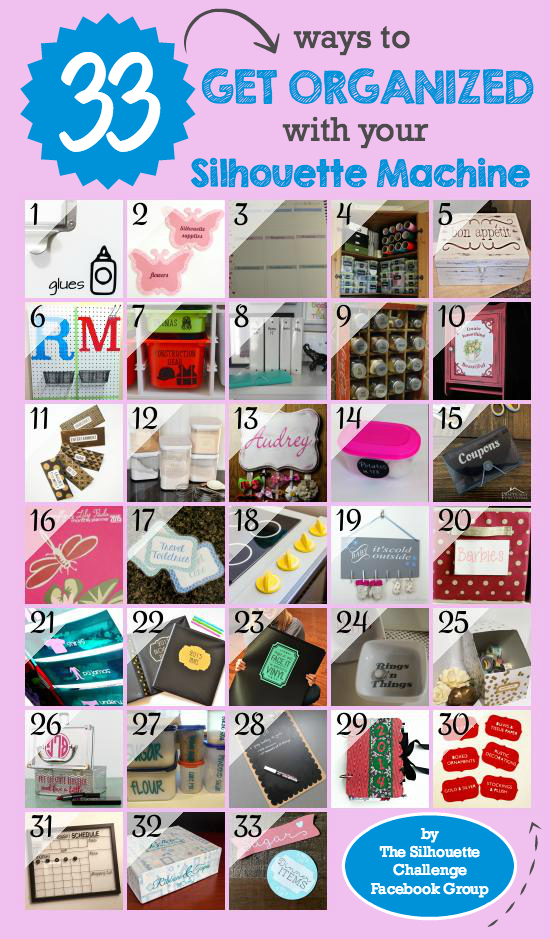
My Silhouette Challenge buddies and I are all sharing projects on our blogs today, so peruse the projects below for a wealth of Silhouette inspiration!
1. Please Excuse My Craftermath... // 2. Simply Kelly Designs // 3. Daily Dwelling // 4. Ginger Snap Crafts // 5. Our Southern Home // 6. Sowdering About // 7. The Moberg Family // 8. Decor Adventures // 9. Pineapples and Pinecones // 10. Patina Paradise // 11. The Thinking Closet // 12. It Happens in a Blink // 13. Adventures in All Things Food // 14. From Wine to Whine // 15. Practically Functional // 16. Dragonfly & Lily Pads // 17. unOriginal Mom // 18. One Dog Woof // 19. Creative Ramblings // 20. My Favorite Finds // 21. Create it. Go! // 22. A Prudent Life // 23. Where The Smiles Have Been // 24. Barb's Life // 25. Everyday Paper // 26. Pitter and Glink // 27. Peanut Life Adventures // 28. Feto Soap Blog // 29. Our Rosey Life // 30. Two Purple Couches // 31. My Paper Craze // 32. TitiCrafty // 33. Lil Mrs Tori


No comments:
Post a Comment
I always love reading your comments and questions. Let me know what you thought about my recipe or post. Comments are currently being moderated due to spam-tastic recent postings. I'll have your comment up shortly. Thanks!